Wednesday 8 October 2014

Hello and thank you for stopping by! My name's Naomi and I make and sell handmade upcycled accessories.

I love to give new life and beauty to vintage, upcycled and remnant fabrics and create new handmade products, ready to 'bloom' once more. I source my fabrics from vintage traders, the TRAID clothes/fabrics recycling warehouse, charity shops and family and friends. All fabrics in my stash then get a good and thorough clean in the washing machine before I cut, snip and stitch them into new handmade products, ready to be enjoyed again as something new and unique. I love florals and nature and these are a strong feature in my designs. I have recently discovered the wonderful world of freehand machine embroidery and am looking forward to adding more intricate details to my designs using the technique. I've been enjoying designing and making for many years now and decided in 2011 to start selling my creations.


I currently sell through my Facebook and Folksy pages and in person at various fairs and markets. I work from home in my little studio area (which is slowly taking over!) with my trusty sewing machine, piles of vintage fabrics and bowls of rescued/reused buttons and fit in my making around an often busy family life of four children. Mr Upcycled Creatively also loves to lend a hand when he can, making all the labels and packaging and being salesman on our stall. I like to keep as much as I can in keeping with my ethical theme so all the card, paper and bags we use are made from recycled materials. I also source crochet flowers made using fair-trade organic cotton or British wool.


Here's a peek at some of my makes:


To view my latest selection of brooches & corsages I have available see here.

I also make bridal arrangements...see more info HERE


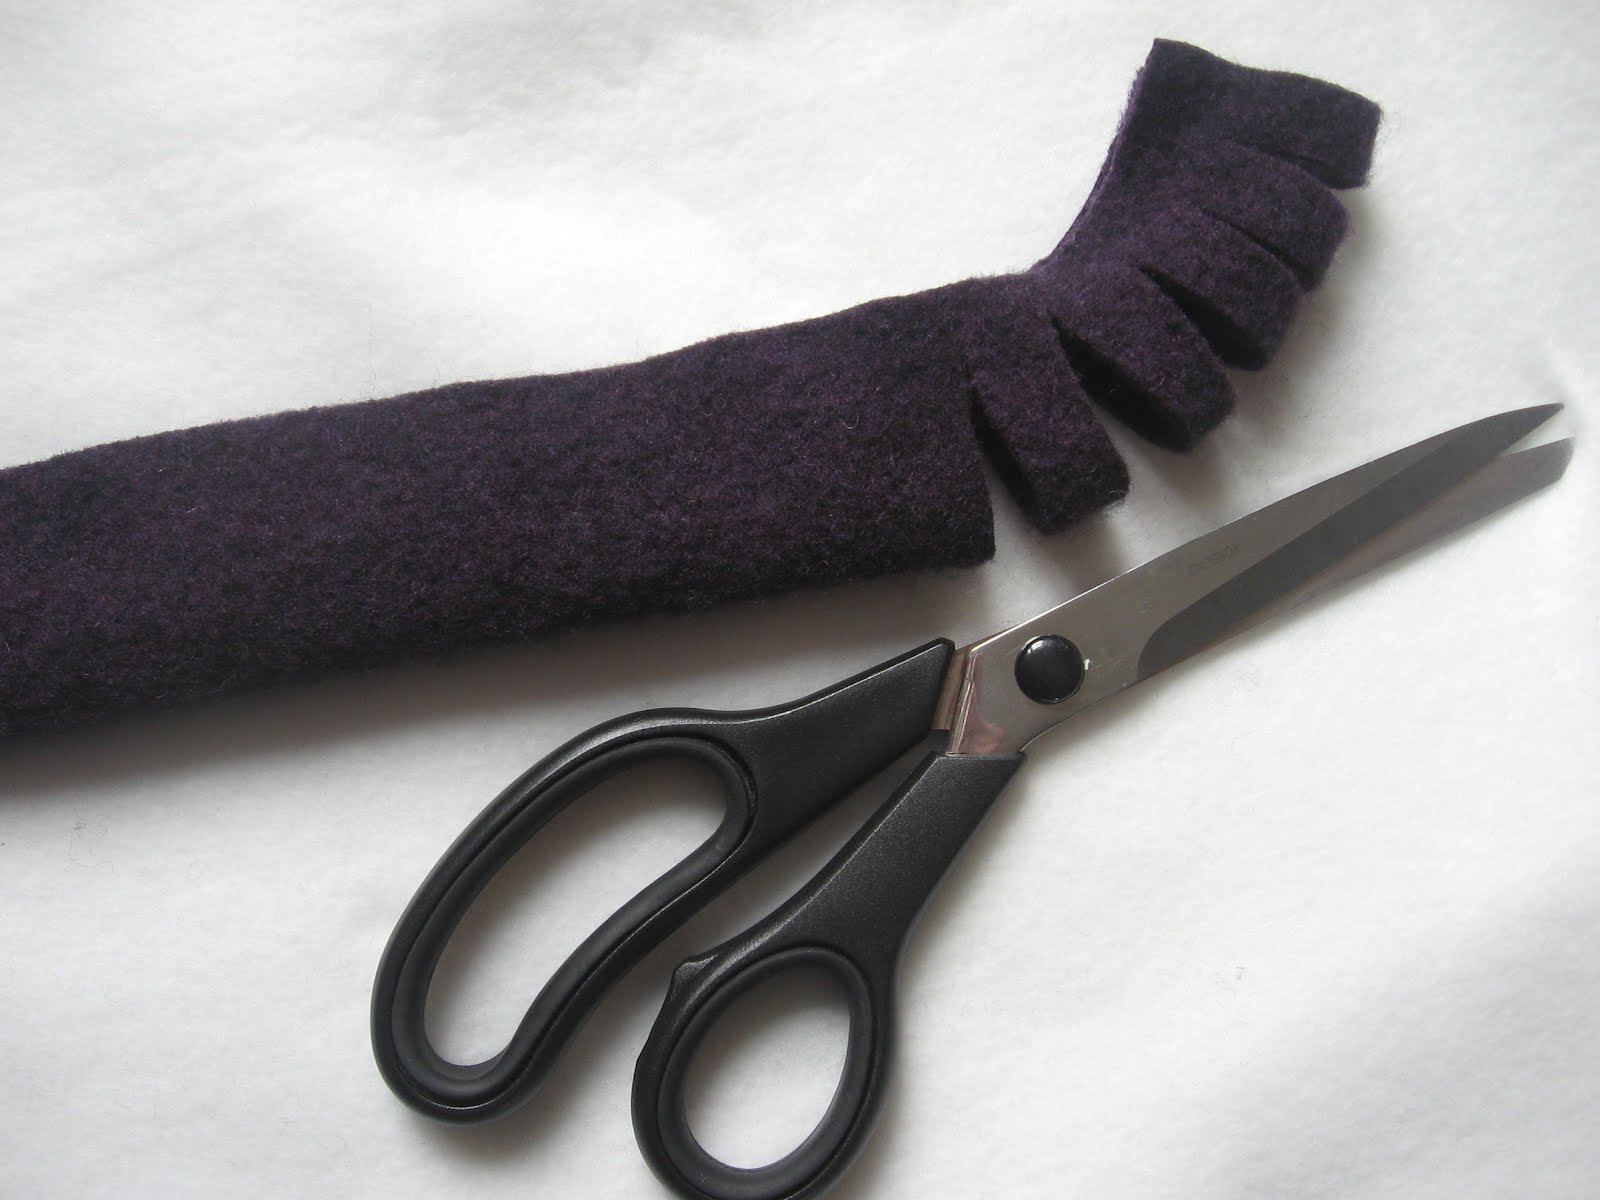
To view my latest selection of mittens and neckwarmers available to buy see here.

I also enjoy making floral hairclips and clothes for children. Please feel free to browse my facebook photo albums to see available items. I am also more than happy to do custom orders too. If you'd like to discuss the prospect of me making you a special custom order please email me at naomijanecreatively@gmail.com and I'll get back to you as quick as I can with fabric and design options.


My latest venture is to embark on teaching sewing workshops! At the moment I have two types of sessions to choose from - A girl's skirt and a patchwork cushion cover. Workshops are £30 each and all materials and fabrics are included, as well as tea coffee and soft drinks, cakes, photo tutorial, my help!...and a goodie bag to take home (with money off voucher!)


You can see more photos and info HERE or send me an email if you have any questions :)

Thanks so much for stopping by. I hope you liked what you saw :) If you'd like to try some upcycling of your own I have some tutorials here on my blog too.

Now I really must pop off to finish making tea...

Bye for now,
Naomi x


Friday 25 October 2013

Frugal tea loaf recipe


"What's frugal about a tea loaf?" you might ask. Well, you know those bits of crumbly cereal you're left with at the bottom of the cereal packet? You know the ones I mean...the crumbs/dust that you end up throwing away or giving to the birds because if you have it in your cereal it turns to mush? Yep, that's exactly the stuff that makes this recipe special. I just enjoy making it because it's always satisfying using up a seemingly 'worthless' item...upcycled cereal! (kind of) :)

Also, it is egg and dairy free...and fat free! I can't remember where I got it from - I think a friend gave it to me as a money saving tip when I went to Uni.

Anyway! Here's the recipe....

Pre heat oven to gas mark 4

INGREDIENTS


1. 1 mug full of the above mentioned cereal crumbs/dust ('brown' cereal works best - bran flakes or wheat biscuits are good but other bran based ones are good too)

2. 1 mug full of sultanas (or any dried fruit really - I just prefer sultanas)

3. 1 mug full of strong black tea (though it would totally work with other teas, I expect!)

4. between half to 1 mug of sugar (I used half a mug, but this really depends on how sweet you want it), plus about 1 tablespoon extra to sprinkle on top.

5. 1 mug full of self raising flour

PUT INGREDIENTS 1 to 4 INTO A BOWL AND COVER. SOAK FOR ABOUT HALF AN HOUR.

Stir in the self raising flour.

It will look like it's not going to mix in but it will. It will be a very stiff mixture.

As you stir in the flour, it is nice to add some flavouring too. I like cinnamon but I expect orange zest might be nice too!

Spoon the mixture into a lined, greased loaf tin and sprinkle with the tablespoon or so of sugar.

Bake in the middle of the oven for about 1 hour and 20 minutes, or until a skewer comes out clean.

Take out of tin and leave to cool (take off the baking paper while loaf is hot, or it will stick).

I like to have this spread with butter and with a cup of tea. It is not a light loaf and more 'bready' than 'cakey', if you see what I mean.


I hope that this recipe is clear! It really is very easy and I hope you like it :)


Wednesday 6 March 2013

Cat puppet made from an old jumper - Tutorial


I love hand puppets. My poor husband has had to pull me away from many a hand puppet as I have stood, at length, umming and ahhing in shops, wondering how they could be used. What story could they be used to tell? What game could be played with them? What voices could they have?...such is the mind of a primary teacher - once a teacher, always a teacher - always looking for fun ways to use things in the classroom. The other thing I love about hand puppets is that they are so easy to make! This tutorial is for a cat puppet, but can be easily adapted to create other animals too.

You will need:

An old jumper (doesn't matter if fulled or not)
Scissors
Sewing machine (or needle and thread for hand sewing)
Buttons for eyes and nose
Small piece of felt in contrasting colour to the jumper
Black thread
Needle
Paper to make the pattern

Ok, so first you'll need to make a pattern to cut your pieces from. I used a large mug and an egg-cup to draw around...


So, you can see that the mug outline is for the cat's head and the egg-cup outlines (x2) are the cat's arms. Just draw some straight lines to make the pattern look more puppet-like!

Your hand should be able to fit inside the lines. Here you see I have drawn around the pattern (about 1cm). This will be the seam allowance for when you turn it right side out later.


Remember to add ears too! If you want to make a bear instead, just draw curved ears. Now, cut the pattern out, around the edge of the seam allowance. Next, you want to cut out two pieces from your old jumper (just lay your paper pattern on top and cut around).


Now you need to fold over the two bottom ends of the two puppet pieces, by about 1 cm, and sew. Make sure the rough edge will be showing on the 'bad' side of the fabric (this will be inside the puppet) and not the 'good' side.


Now...tail time!

Start by cutting a rectangle from your old jumper, about the same height as the two puppet pieces you've already cut and about as wide as the base of the puppet pieces.


Fold this in half, lengthways and sew around three edges, leaving a small edge open. Fold right side out and you have a tail!


Now you need to attach the tail to one of the puppet pieces - remember to sew it onto one of the rough edges, so it will be on the inside of the puppet.


Nearly there! What would be a great idea to do now would be to sew on the buttons and do the embroidery for the face BEFORE sewing the two pieces together - I sewed the face details on at the end and found it tricky!

Place the two pieces together, with the good sides of the fabric facing IN and sew together, leaving about 1cm seam allowance. Remember to leave the base UNSEWN so you can put your hand inside the puppet!


Now turn the right side out and use a pencil to push the ears out and make them more pointy. Give your puppet a try on to see if you need to make any adjustments. I had to because my original pattern was too wide. I simply turned the puppet inside-out again and sewed the head narrower on both sides...


Next I cut two pieces of felt into triangles and sewed them onto the ears...


Added the face...


...finished! One upcycled cat puppet, ready to be wrapped up and given as a present (well, this one was anyway!).


"Meow!"

I hope you have fun making and playing with your puppet :)

You might also like my tutorial for making a teddy bear sleeping bag.

Thursday 5 July 2012

Upcycled loopy style felt flower brooch - Tutorial


When I first saw a picture of this style of brooch I thought "wow!", but you'll be very pleased to know that they are very simple to make. Here's how...

First you'll need some upcycled felt. You know that woollen jumper you accidentally shrunk? Get that out and ready to upcycle! Or, if you have a tired looking 100% wool item, follow this link to how to felt a woollen garment.

So, now you've got that sorted, here we go...

You will need a rectangle piece of felt, approximately 30cm by 10cm.


Next, you need to fold the felt piece in half, lengthways...


Now, get some fabric scissors and make cuts along the folded edge, about 1cm apart...


Once you've cut along the entire length of the piece of rectangular felt, it should look like this:


So...fold it back to how it was and get your needle and thread ready to go! You are going to create a spiral by rolling up the rectangle, sewing as you go. Start at one end and fold over the end (it doesn't matter which end you start with- I start on the right and hold it in my left hand so I can sew with my right hand)...


Secure the end with a knot, then you're ready to go! Just roll and sew - remembering to sew through a few layers at a time to make sure each loop will be secure in the final brooch. Also, keep the un-loopy edge of the piece of felt straight... the spiral WILL naturally dip in the centre...LET IT! This will give the finished flower the more domed look.


Finished! Now make a knot to secure and turn over to reveal your creation!


Now...you have a choice. You could leave as is and add a circle of felt to the back and attach a brooch pin. Or, you could add some leaves...


Here's how...

Start with two rectangles of felt (approx 5cm by 10cm ...but size of leaf is optional!)


Now, scissors to the ready and cut leaf shapes as so:


I like to sew mine together first before adding them to the flower - just seems a bit less fiddly. I like to add some stitching detail to the leaves (this can be done on a sewing maching or by hand)...


Right, now to sew the leaves onto the flower...


You want to make sure you sew through the leaves and the flower, all the way around the circular base of the flower...


Finally, tie a knot to secure and you're done! Now just sew a brooch pin to the back and give to a friend as a very special handmade gift...or just keep for yourself! ;-)


Get creative and have fun upcycling! :-)


Lots more photos for inspiration on my Facebook page, also flower brooches available to buy.

Thanks for stopping by! :-)